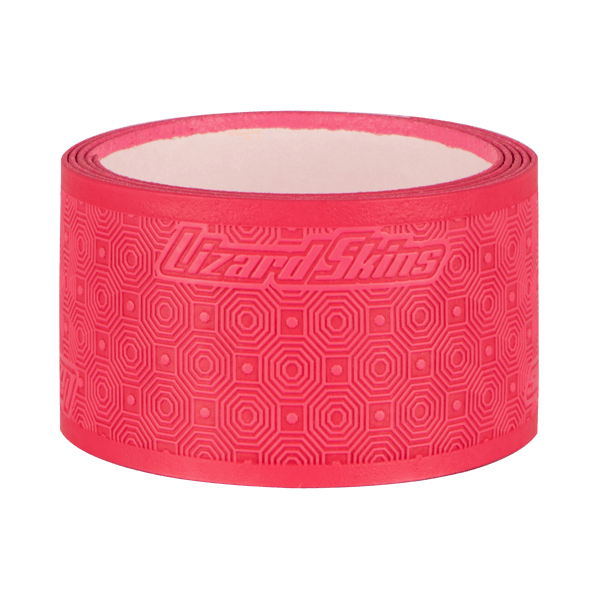
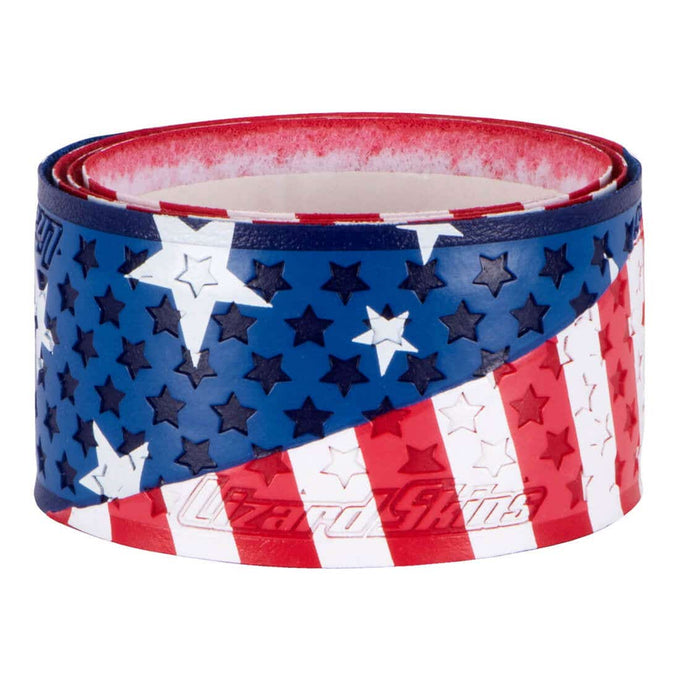
So, you’ve read our article about building your stick and now you’re ready to take care of your TJ – Tape Job. Your TJ is one way that allows you to customize your stick and make it yours. You can go about this a number of different ways, and either target functionality or style. Some players choose certain patterns to add some extra flair to their look on the field, and others focus only on improving their grip and torque. Let’s take a look at the different tape methods, and how to set them up.
The Standard

The standard tape job is the most common pattern, and the one that we would recommend for beginners. This is sometimes also called the “Standard ¼”, because it goes a quarter of the way up your stick. Start at the base where your bottom hand goes (right up against the butt end), and tightly wrap the tape around your shaft until you get ¼ of the way up your stick. You want to make sure you overlap the previous layer on each turn so that there is no space between the tape; you want it to completely cover the bottom ¼ of your shaft. This method will increase your grip and torque on shots, and will help the beginner get a better feel for their stick. We would recommend first time TJers to go with the standard method.
The Box or Half Box

This version is very similar to the standard TJ, but it goes further up the stick. Instead of stopping a quarter of the way up from the bottom of your stick, you’ll want to continue until the entire bottom half of your stick is covered. This will give you even more torque than the standard TJ, and is great for additional power and control on long passes. We’d recommend this higher tape job for defenders, in order to utilize the additional functionality on long clear passes.
The Candy Cane

Now we’re getting a little more advanced. While this style doesn’t really have much functionality, it does add some steez to your game. We wouldn’t recommend using this style unless you are a more advanced player who is comfortable with their stick in their hand and is fundamentally sound in their skills. To achieve this style, it makes it easier to cut your roll of tape down the middle to get a thinner strip. You’ll want to start at the bottom with a few overlaps in the same spot, then hold the tape at a 30-45 degree angle to the shaft and wrap the tape around until you get about ¼ - ½ way up the stick. Once you get to the ¼ or ½ way point, square it off with one more wrap around. This style will give you some additional grip, but again this is more for the look than the function.
Criss – Cross

This style is very similar to the candy cane one, except there is an additional layer going down the stick to create a criss-cross pattern. Create this pattern by doing exactly what you did for the candy cane TJ, and then flip the stick while keeping the tape at the same angle, and go back down towards the butt end of the stick. While this tape job gives you more grip than the candy cane style, it is still more for looks than to serve any functional purpose, and we would only recommend the more advanced players
At the end of the day, you can even choose to just stick to the OG shaft and not even worry about adding tape to your stick. Lacrosse is all about creating your own style and being comfortable and confident in your abilities, so try out your different options and see what works best for you. Remember, at the end of the day the only thing that matters is the W column.

